How to Edit Meta Descriptions in WordPress?
- Log into your wp-admin with user name and password.
- Go to the dashboard and click “Plugins”.
- Scroll through the plugins and check to see if the “Yoast SEO” plugin is active.
a. If the plugin is not there then click “Add New”.
i. Type “Yoast SEO” in the search box and click “Install Now”.
ii. Click to “Active” the plugin. - In the dashboard, click “Pages” and click “Edit” on the first page you would like to add the meta description to.
- Scroll down the page to where it says “Yoast SEO”. (If the Yoast SEO block is collapsed you can click the down arrow to the right to expand it.)
- Click on the area that has the title and website URL.
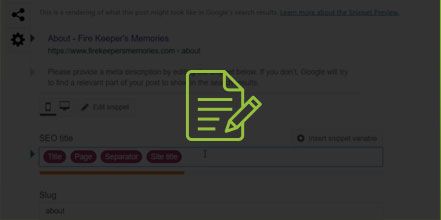
- Under “SEO Title” you will see snippet variables that automatically update based on whatever the title of the page is, separator and site title. (NOTE: You can remove all of these by selecting and deleting them. Then enter your own custom SEO title – this can include a phone number, and city if you are ranking for a certain city. If you delete the variables and want to put them back in you can just select “Insert snippet variable” and select each one to add them back in.)
- The “Slug” is just the URL of the page so you don’t have to change this.
- Under “Meta Description” if there is no meta description provided it will try to pull text from the page. Sometimes it can get to be too much so it is best to enter your own custom description. The bar below the meta description field will show as you are typing so you can see how much you have left to put in the description. When the bar turns green that means that you have a good amount of text to use for the meta description. If the length of text is too long and the bar shows orange you can cut some of the text out until it turns green again.
- Once you have your text, click “Update” and it will update the SEO and meta descriptions for the page.
YouTube Video: https://www.youtube.com/watch?v=31DDAFULaXs&feature=youtu.be


